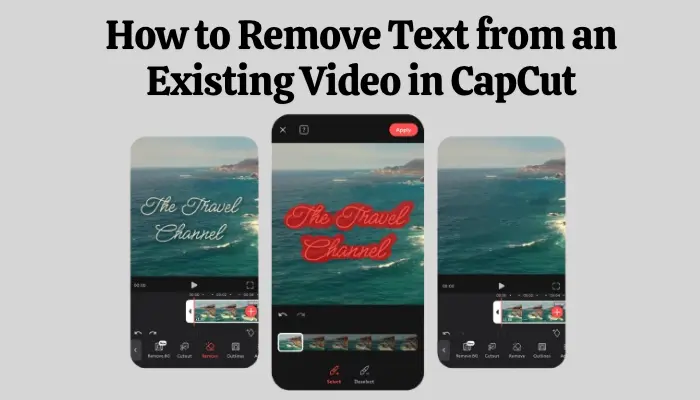
How to Remove Text from an Existing Video in CapCut?
Step By Step Guides about Remove Text from an Existing Video in CapCut APK
In CapCut APK, removing text from an existing video is simplest method. So, after following all those steps you videos looks seamless once text is gone. Whether you’re editing a YouTube video, social media content, or any other form of visual media, CapCut MOD APK offers an intuitive interface to simplify the task.
Follow These Steps:-
Step 1: Install and Open CapCut
First, download the CapCut Mod APK on your Android or iOS device. If you don’t have it, download the latest version from our page. Then, open the app and create a new project.
Step 2: Import Your Video
- Tap the New Project button on the main screen.
- Select the video from your gallery that contains the text you want to remove.
- After selecting your video, tap Add to import it into the editing timeline.
Step 3: Select the Text Layer
Once your video is imported, follow these steps:
- Scrub through the timeline to locate the frame where the text appears.
- Tap the video to access the editing tools.
- If the text was added as a text layer, locate it in the timeline below your video. CapCut allows you to separate video clips and text into layers.
- Tap on the Text Layer that corresponds to the text you want to remove.
Step 4: Removing the Text Using the Text Layer Tools
To remove the text from your video, you can either delete it completely or mask it with a background:
- Delete the Text: Once the text layer is selected, tap Delete or use the Trash Icon at the top of the screen.
- The text will disappear from the video. However, depending on your video, this may leave a gap or an area that looks odd without the text.
- Mask the Text: If you prefer to keep the video’s original content intact without gaps or awkward sections, you can use CapCut’s Mask Tool.
- After selecting the text, use the Mask option in the tools menu. Choose a suitable mask style (such as a blur or solid color) to cover the area where the text appears.
- You can adjust the mask size and position to make sure it perfectly covers the text area.
Step 5: Apply the Mask or Blur Effect (Optional)
To achieve a more professional look, consider adding a blur effect to the masked area. This is especially helpful if the background behind the text is detailed:
- Tap on the Effects tab.
- Select Basic or Blur from the available effects.
- Apply the impact directly over the masked area to ensure a seamless removal.
Step 6: Review and Adjust
- Play back your video to ensure the text is effectively removed without leaving noticeable gaps or awkwardness.
- If needed, you can adjust the mask or blur effect’s opacity, size, and position.
- Ensure the background appears natural and the video flows smoothly.
Step 7: Export Your Video
Once you are satisfied with the result, it’s time to export your edited video:
- Tap the Export button in the top right corner of the screen.
- Select the resolution and frame rate you prefer (usually 1080p for high-quality output).
- Tap Export again, and your video will be saved to your gallery or shared directly to social media platforms.
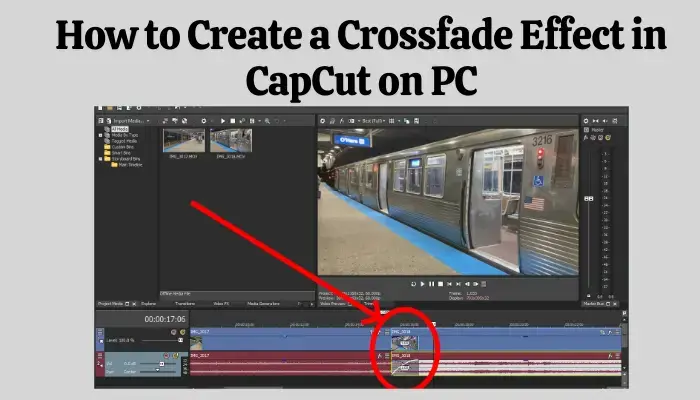
Check this article How to Create a Crossfade Effect in CapCut on PC (2025)
Tips for a Better Editing Experience:
- Use the Timeline Zoom Feature: Zoom into the timeline for a more precise edit, especially when you’re masking or deleting small areas of text.
- Layering Multiple Clips: If the text is present in different parts of the video, you may need to use CapCut’s split feature to cut the video into smaller clips and apply changes to specific sections.
- Use CapCut’s AI-Based Tools: If you’re working with complex scenes, CapCut’s AI-based tools can help automatically recognize and remove text.
Conclusion:
It is not only possible but easy to remove text from a pre-existing video in CapCut. If you want to remove the text completely or cover it with a background or blur effect, CapCut’s general editing software allows you to do so and have professional-looking and polished videos. Using the above steps, it is easy to edit your video and prepare it to use as desired.
Pro Tip: Always review your final video to ensure that the changes are smooth and natural. Editing takes time, but with practice, you’ll become proficient in it.